


Plasma cutting for collision repairs requires meticulous preparation: inspecting and cleaning materials to identify flaws, using high-performance plasma cutters for precise cuts, and adhering to safety protocols. Proper techniques, equipment, and precautions ensure minimal damage, structural integrity, and aesthetic appeal in repairs, especially for intricate vehicles like Mercedes-Benz. A step-by-step guide outlines these processes for flawless results.
In the realm of metal fabrication, plasma cutting collision repairs present unique challenges. This article explores best practices for achieving clean cuts during collision repairs using plasma cutting technology. We’ll first understand the nature of plasma cutting collision damage and its impact. Then, we’ll delve into essential tools and preparation techniques that set the stage for success. Subsequently, a step-by-step guide will provide a practical approach to achieving precise, neat cuts, ensuring top-notch repair outcomes.
- Understanding Plasma Cutting Collision Damage
- Essential Tools and Preparation Techniques
- Step-by-Step Guide to Achieving Clean Cuts
Understanding Plasma Cutting Collision Damage
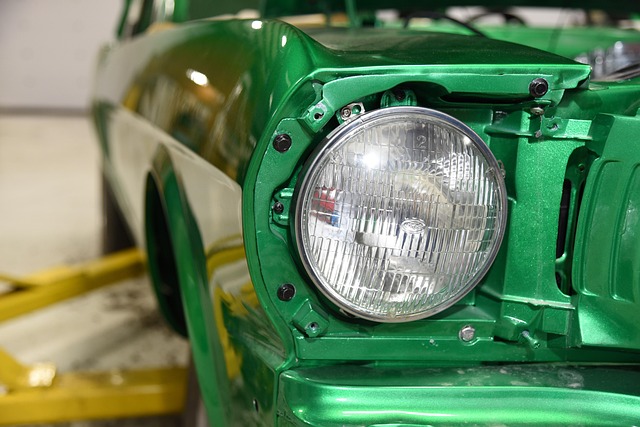
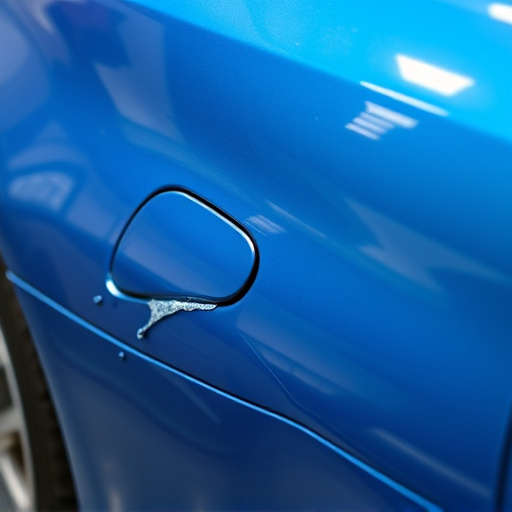
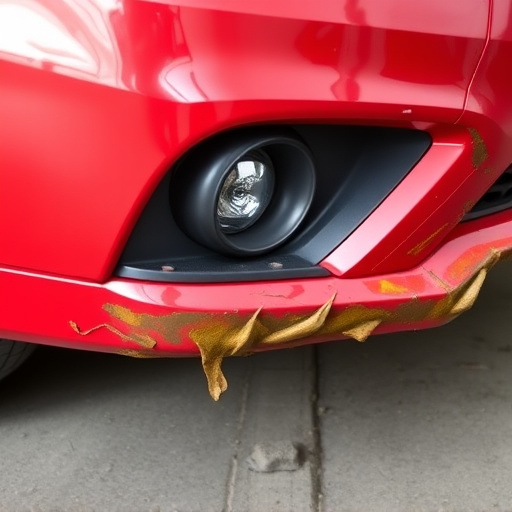
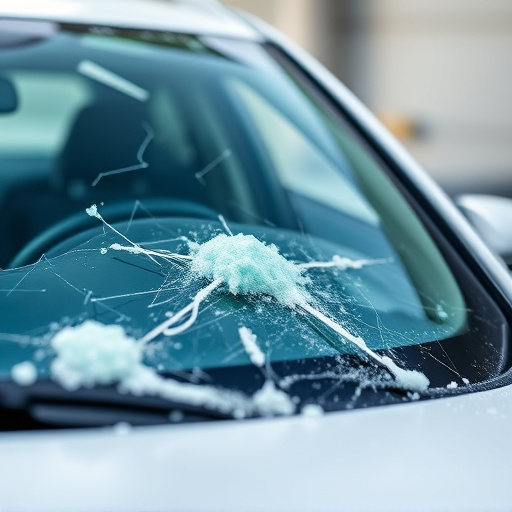
Plasma cutting collision damage refers to the intricate set of challenges that arise when a vehicle undergoes precision cutting using plasma torches during collision repairs. Unlike traditional metalworking, plasma cutting involves high-speed, focused beams of ionized gas that can lead to unique and complex deformations in metal panels. These include burn marks, warping, and subtle distortions that may not be immediately apparent but can significantly impact the structural integrity and aesthetic appeal of a vehicle.
Understanding these potential damages is crucial for collision repair shops aiming to deliver top-notch car dent repair or vehicle body repair services. Proper preparation, including meticulous material inspection and surface cleaning, is essential before plasma cutting. By identifying pre-existing flaws, such as previous damage or manufacturing defects, technicians can better navigate the plasma cutting process, ensuring cleaner cuts and minimizing collateral damage. This knowledge, coupled with advanced techniques, enables efficient collision repair while preserving the vehicle’s structural integrity and overall appearance.
Essential Tools and Preparation Techniques

For successful plasma cutting collision repairs, several essential tools and preparation techniques are indispensable. Professionals in this field rely on high-quality plasma cutters that deliver precise, clean cuts, minimizing damage to surrounding materials. These advanced machines utilize a concentrated plasma arc to melt and vaporize metal, offering exceptional control for intricate repair work.
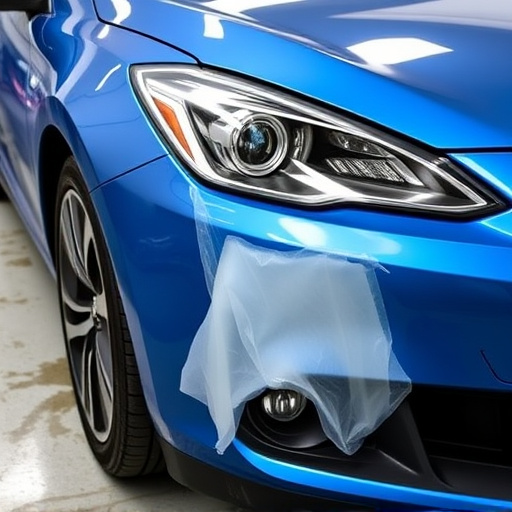
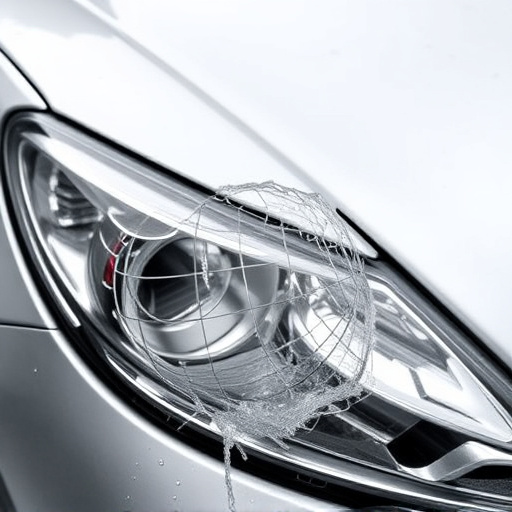
Proper preparation is crucial before initiating any plasma cutting process. This involves thorough cleaning of the damaged area to eliminate grease, dirt, and debris using specialized solvents or compressed air. Additionally, protective gear, including safety glasses and gloves, ensures the technician’s safety during the repair process. Just as important are proper ventilation and a clear workspace, especially when dealing with vehicles like Mercedes-Benz collision repairs, where precise tire services and overall car repair expertise are vital to restoring the vehicle’s structural integrity and aesthetic appeal.
Step-by-Step Guide to Achieving Clean Cuts
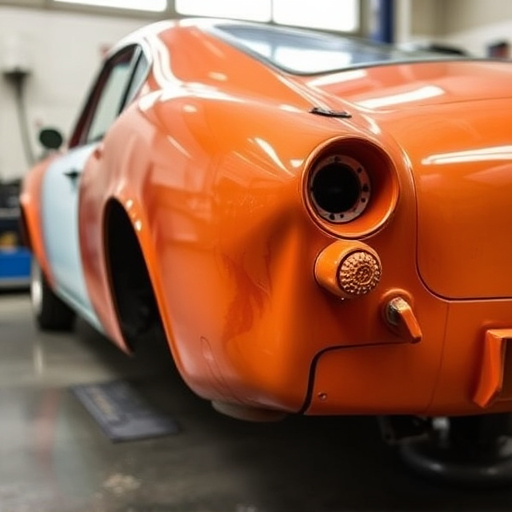
Achieving clean cuts during plasma cutting collision repairs is paramount for achieving flawless results, especially in a vehicle body shop or classic car restoration projects. Here’s a step-by-step guide to help you master this technique:
1. Prepare Your Workspace: Ensure your workspace is well-lit and organized to allow for precise work. Clean the surface where you’ll be cutting to eliminate any debris, grease, or oil that could contaminate the metal.
2. Use High-Quality Plasma Cutter: Invest in a reliable plasma cutter designed specifically for metal fabrication. Calibrate it according to the manufacturer’s instructions and ensure it’s in optimal condition before starting your cut.
3. Secure the Metal Piece: Firmly clamp the metal piece you intend to cut, ensuring it’s secure and won’t shift during the process. This is crucial, especially for bumper repairs or other delicate parts.
4. Set Cutting Parameters: Adjust the plasma cutter’s settings based on the type of metal and thickness you’re working with. Start with conservative settings and make adjustments as needed to achieve a clean cut without excessive heat input.
5. Mark Your Cut Line: Use a marker or chalk to clearly outline your desired cut line, being careful not to mar the surface of the metal. This guide will help ensure a straight and precise cut.
6. Begin Cutting: Start the plasma cutter and slowly move it along the marked cut line, maintaining a steady speed. Keep an eye on the arc and adjust as needed to maintain a consistent burn pattern.
7. Monitor and Adjust: As you cut, watch for any signs of burning or distortion outside the cut line. If necessary, reduce the power or speed to prevent damage to the surrounding metal.
8. Clean Up: Once the cut is complete, carefully remove the cut piece using proper safety gear. Clean the cutting area thoroughly to eliminate any residue or debris left behind from the plasma arc.
Clean cuts are essential for successful plasma cutting collision repairs, ensuring structural integrity and aesthetic appeal. By understanding the damage, employing the right tools, and following a meticulous step-by-step guide, professionals can achieve precise, accurate results. Adhering to these best practices guarantees not only effective collision repair but also enhances the overall quality of plasma cutting operations, making them a reliable solution for various industrial applications.